Now that all the work is done, it is time for the magic to begin. Dump,
pour, swish, and dabble, add warmth and patience, now the color is no longer in
my potion but has transferred itself onto my wool. The magic of it is
contagious. No, I don’t always get it right. Surprises can be both good and bad.
I believe there are enough dyeing methods to keep me busy learning the rest of
my life. I feel a little witch like concocting my potions, I better practice my
evil laugh.
 I’ve only been using food dyes, but know that the colored potions hole
will be both deep and wide. No, this is not a neat, tidy project, but through
pictures and explanations of them I hope you will be able to catch some of the
magic of it.
I’ve only been using food dyes, but know that the colored potions hole
will be both deep and wide. No, this is not a neat, tidy project, but through
pictures and explanations of them I hope you will be able to catch some of the
magic of it.Supplies: What I use 1. Wood cook stove with
warming shelf.
2. Two quart glass jar or
jars.
3. Vinegar and water.
4. Kool aid packets or
Wilton icing colors
5. Soup can and plastic
clothes hanger.
6. Glass casserole dish
Step One: Fill jar about 3/4ths full of water with a swish of vinegar added to it. I never measure either of these exactly. Put in lots of Kool aid packets (can even mix colors) or a dab of Wilton icing color. Put lid on jar and shake until mixed well. Should look dark like above picture. You can no longer see through the jar.


Step Two: Skein or loop your yarn around two chair backs and tie it so it will not tangle. It will be in a big long loop like later pictures show. Now put it into the jar. The flash makes the yarn show up inside the jars better than it does in real life. Push in down so it is all covered by the dye.
Step three is patience let it sit. I usually let mine sit all night. In the morning I wake up to a jar of colored yarn sitting in almost clear water. The yarn will only hold so much dye so if there is still dye in your water remove yarn and place more yarn in the dye jar.


Here are pictures of the yarn in the morning. Notice the clear water in the jar. *Note* Jar
on far right in left picture has nothing to do with dyeing. lol It is a science experiment.
 This is a picture of the wet yarn. I ring it softly out by hand. You can see the almost clear water in the bottom of the bowl.
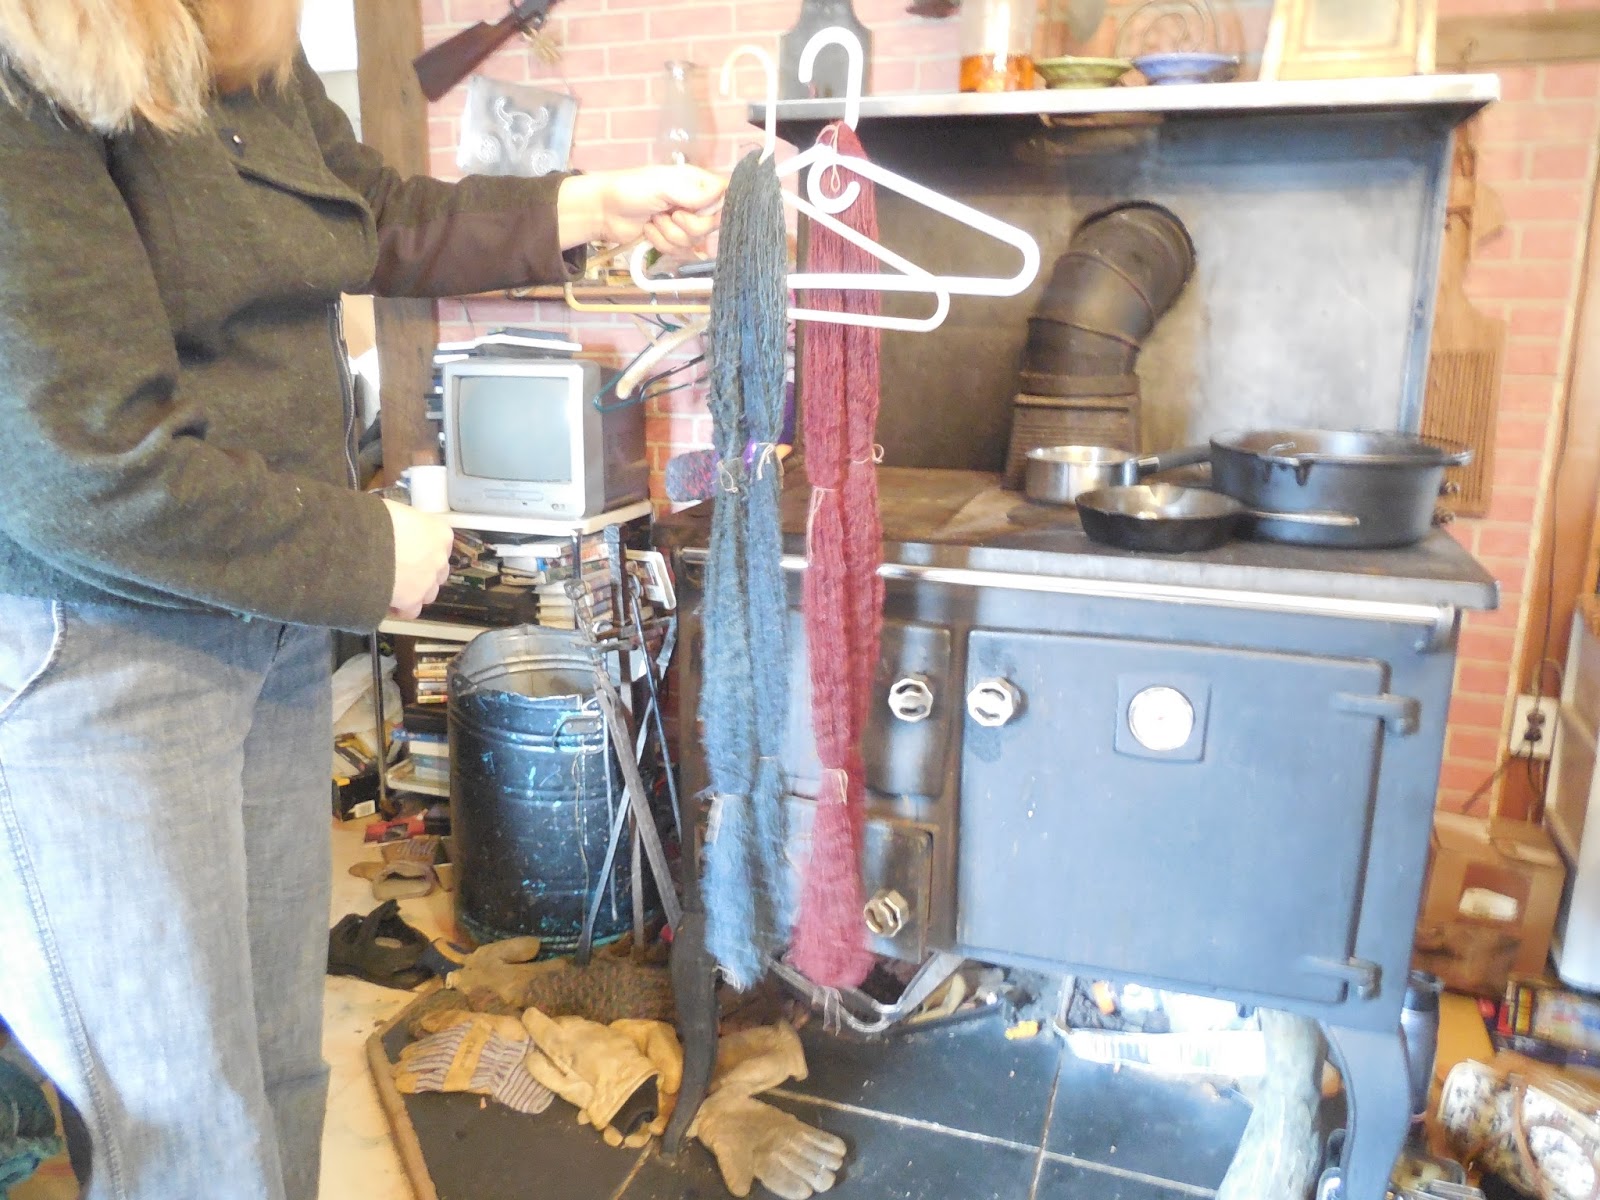
The next step is to hang, weight the wet yarn, and let it dry. Here is where I use the hanger and soup can. In the picture you can see that I have plenty of dye left in my jar for another round of dyeing. Also, it is interesting that the cotton yarn I used to tie the wool doesn't really take the dye. You need to use another method for dyeing cotton.


The last Step happens after the yarn is dry. I lay it in a glass casserole dish and place in my oven of wood cook stove for ten minutes at the temp of 250 degrees. I set the timer for five minutes, turn the yarn over in the dish at that point, and set the timer for another five minutes.You are only suppose to have to heat treat it once to make the color fast. Just for good measure I heat treat it two mornings in a row. I do it in the mornings while my fire is still warming up. After all that work I don't want to burn it.


On the left are two yarns dyed in the same dye batch. Lighter one was a white hand spun "unknown" wool and the darker one was a gray Finn wool just like I used in my son's Christmas hat this year. Only it is spun finer. .
The yarn in the right picture is hand spun white Icelandic.
I made a big skein or loop of it and dipped different parts
of it into three different dye jars. Thus making a multi colored
yarn.
 The far left yarn is naturally gray wool dye with blue Kool Aid packets. It might be hard to really see here, but it came out a cool denim color. On right yarn I used red Kool Aid packets over gray yarn and got a wonderful, earthy red heather.
You may even dye the wool roving like in the picture
below on the right.
 The left show a picture of three balls of gray Finn wool that where spun and dyed with Wilton coloring. Notice the subtle shade difference. These can be a real plus. When you ply them to gather you get the heathered green yarn in the picture below.


Below is a picture of a project I am making with four plys of the red heathered yarn mentioned above. The neat thing about this picture is the yarn was originally the same color as the gray yarn in this picture before I dyed It.
Step three is patience let it sit. I usually let mine sit all night. In the morning I wake up to a jar of colored yarn sitting in almost clear water. The yarn will only hold so much dye so if there is still dye in your water remove yarn and place more yarn in the dye jar.

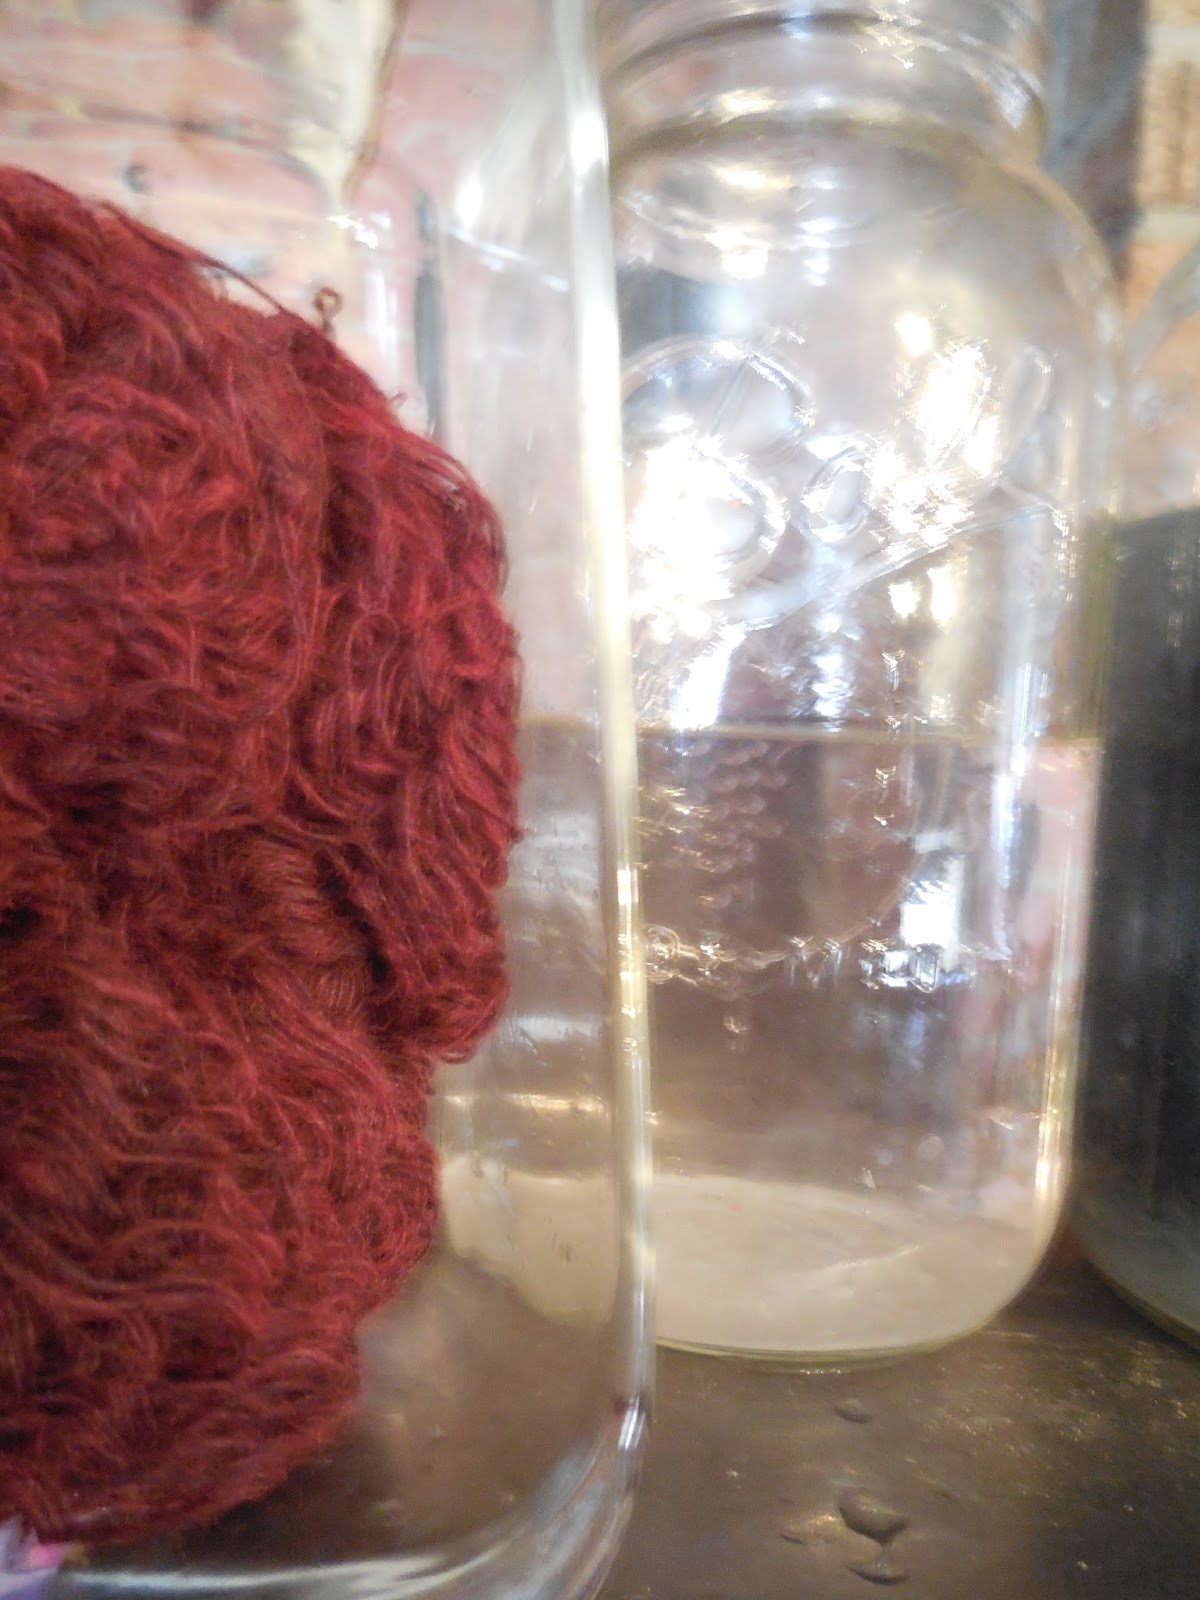
Here are pictures of the yarn in the morning. Notice the clear water in the jar. *Note* Jar
on far right in left picture has nothing to do with dyeing. lol It is a science experiment.
 This is a picture of the wet yarn. I ring it softly out by hand. You can see the almost clear water in the bottom of the bowl.
The next step is to hang, weight the wet yarn, and let it dry. Here is where I use the hanger and soup can. In the picture you can see that I have plenty of dye left in my jar for another round of dyeing. Also, it is interesting that the cotton yarn I used to tie the wool doesn't really take the dye. You need to use another method for dyeing cotton.


The last Step happens after the yarn is dry. I lay it in a glass casserole dish and place in my oven of wood cook stove for ten minutes at the temp of 250 degrees. I set the timer for five minutes, turn the yarn over in the dish at that point, and set the timer for another five minutes.You are only suppose to have to heat treat it once to make the color fast. Just for good measure I heat treat it two mornings in a row. I do it in the mornings while my fire is still warming up. After all that work I don't want to burn it.


On the left are two yarns dyed in the same dye batch. Lighter one was a white hand spun "unknown" wool and the darker one was a gray Finn wool just like I used in my son's Christmas hat this year. Only it is spun finer. .
The yarn in the right picture is hand spun white Icelandic.
I made a big skein or loop of it and dipped different parts
of it into three different dye jars. Thus making a multi colored
yarn.
You may even dye the wool roving like in the picture
below on the right.


Below is a picture of a project I am making with four plys of the red heathered yarn mentioned above. The neat thing about this picture is the yarn was originally the same color as the gray yarn in this picture before I dyed It.
Everyone has their own favorites. Mine are: I prefer to dye a single strand of yarn before it is plied. Dyeing over a light grey gets me the colors I like best. But I am in no way done learning yet so that may change.
Have I made you want to mix up your own magic potions?


