Years ago I saw an ad in one of the Interweave Press Pieceworks
magazines for a pincushion contest. As usual, my brain fired off an image of
something totally different than what they were asking for, but I thought why
not give it a go. What could it hurt? So I let the idea roll around in my head
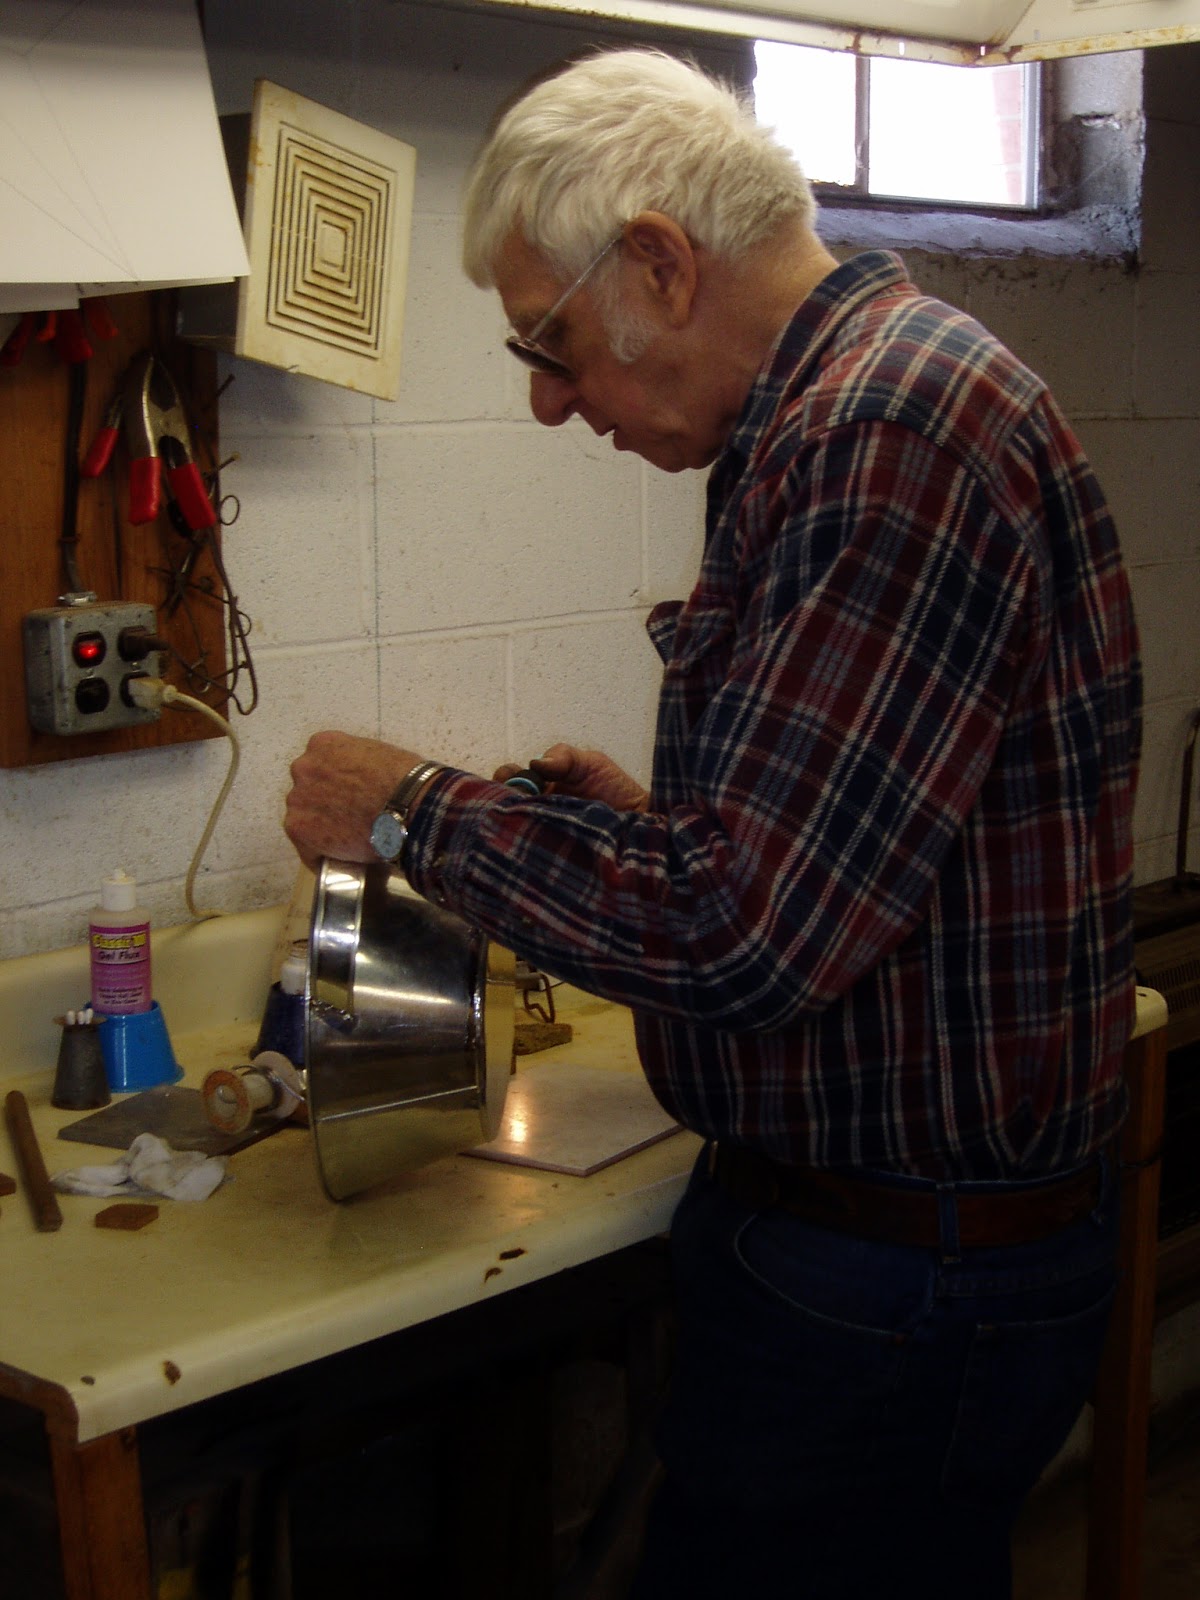
till I thought I had a workable idea. I then made a phone call to my Dad, asking
his advice. Was my idea even doable? He thought I could do it, and offered to
make the tinwork for me, but was more than willing to help me once I said that I
wanted to do the work myself. Now I had to block out a time slot in my schedule
to spend a day in Dad’s tin shop to make the first step of my “pincushion”.
What? You ask, why in the world would you need to work in a tin shop to make a
pincushion for a needle work contest? But when making a mini drum you need a
form, yes, usually the hoop is wooden. But since my Father has a tin shop it
would be easier and more fun to make it out of tin. Basically I made a tin can,
with a lot of little quirks added to it.
I wanted both sides of the drum to be filled with raw wool because that
is what was used in pincushions years ago. Running the pins through the raw wool
coated them with a thin layer of lanolin which caused them not to rust from the
moisture in the homes. Yet I also wanted the drum to have some weight to it.
Just a can filled with wool would easily side around on your work space. To fix
this problem I had to create an area in the middle of the can that was sealed
and would hold the sand that would give my mini drum weight. Another personal
touch to the can was using a tool from the tin era that had been lost until my
Dad drafted up the design and had a few of them remade. I got to choose a simple
but decorative design of ridges that run around my can. This could be done the
hard way, but by using the tool Dad had remade it was easy. (Extra cool! Dad)
The last step to the can was to pre-age it so it didn’t look shiney and new, but
had an heirloom look to it.


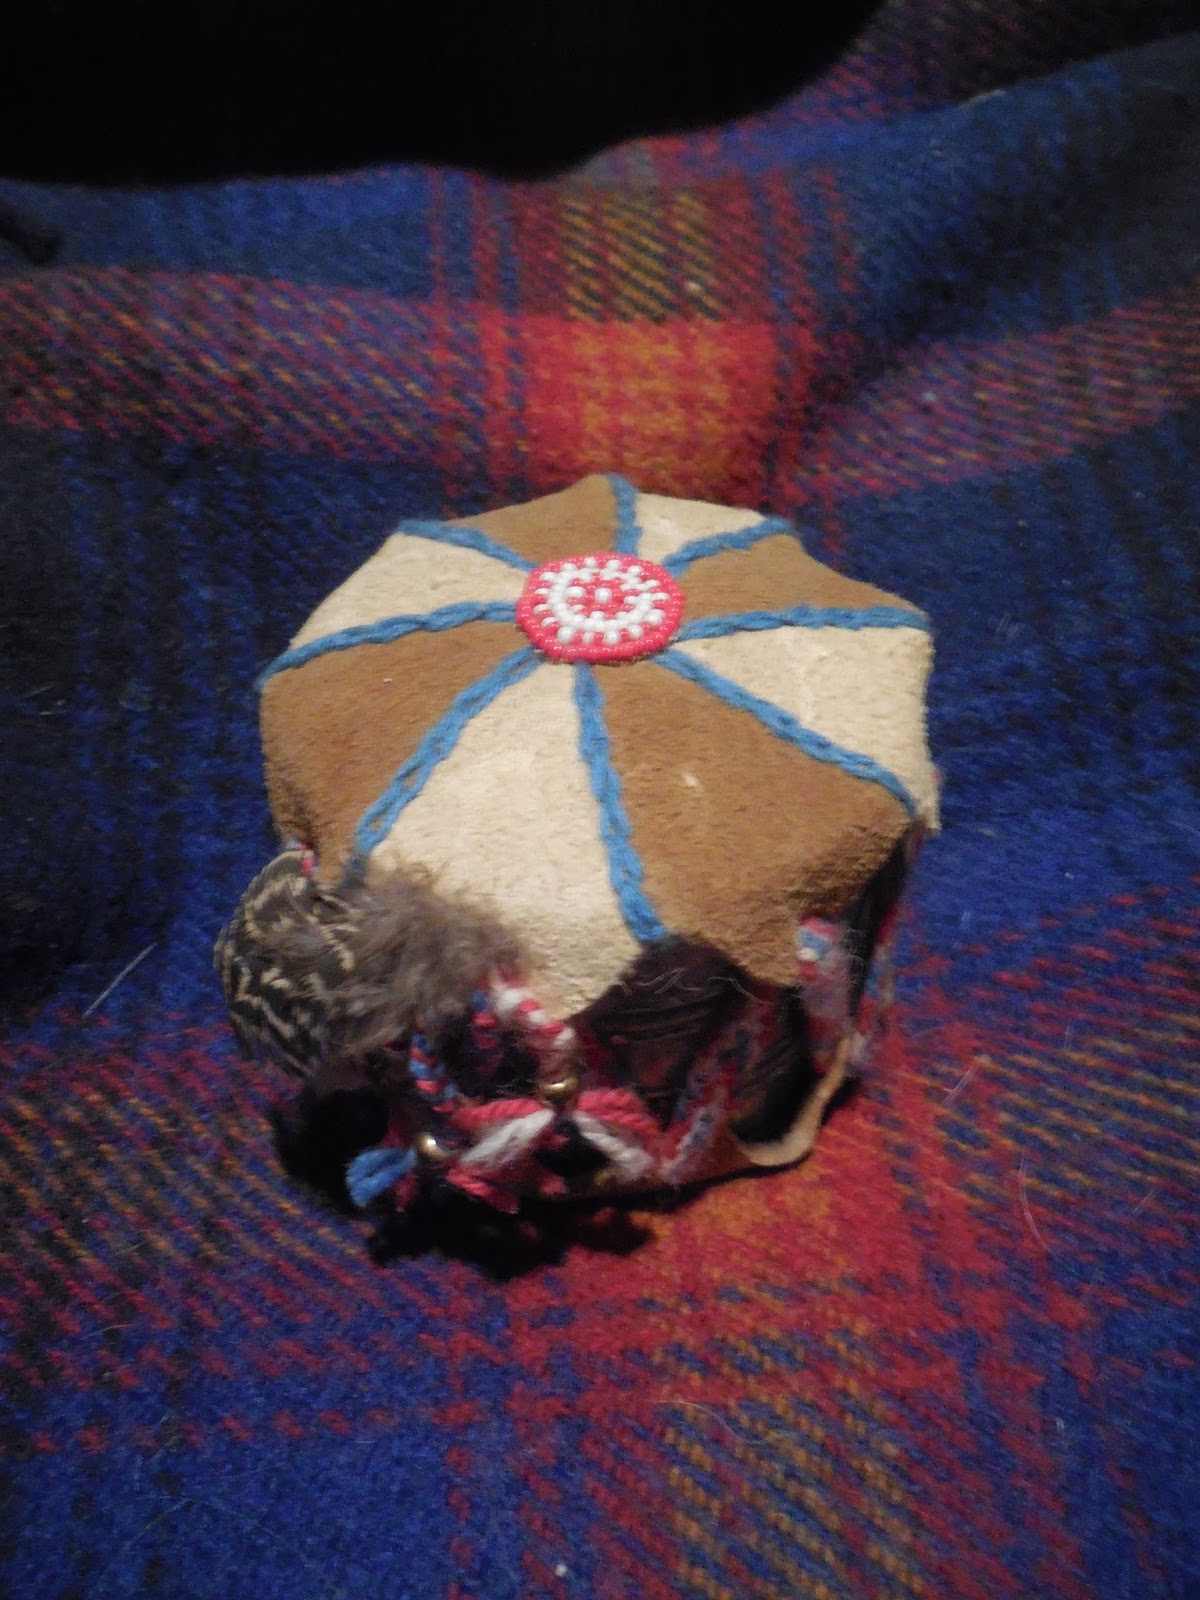
Now I had to design the drum’s top. I wanted the top to have two colors of braintan arranged in a pattern. I pieced it together and then took blue wool sock yarn and did a simple embroidery stitch over the top of the seams. Now for the very center of drum top, a very small beaded rosette in red and white beads gives it a special touch while also covering the area where all my seams come together and could damage a needle if it was forced through them. The bottom piece of braintan is the very same size and shape as the top only it is all one piece.


Most drums have a cord or leather thong that laces through the top
and bottom as it travels around the drum. I wove a mini, chevron finger woven
strap made out of red, white, blue wool sock yarn to use on my pincushion drum.
I tell myself this is because I wanted to add color, but I am pretty sure it was
just to keep the project as difficult as I could. ; ) The finishing touches
where adding a feather and a few brass beads.


Yes, I did send it in to the contest. lol They probably had no idea how to “grade” it. My drum pincushion arrived home again with a nice letter stating I didn’t make it into the few top spots that would be recognized in their magazine. No surprise to me really.

Today as the loss of my Father is very fresh in my life, (The evening of
the 7th of February my Dad took his first stroll in heaven.) I look at this
mini drum cushion which brings sadness, yet joyful memories of a life long
relationship with a man who taught me so much. Thanks Dad for believing in me
and giving me the confidence to follow my own drum beats.


No comments:
Post a Comment